The different parts of this tutorial:
Pfsense installation
Click on “Accept”.
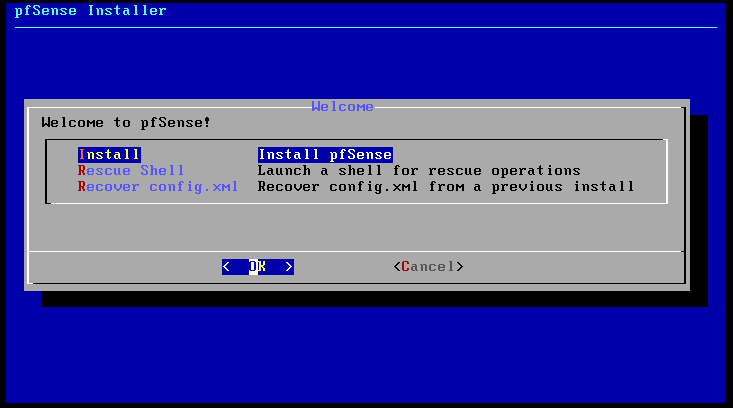
Select “Install”, then “OK”
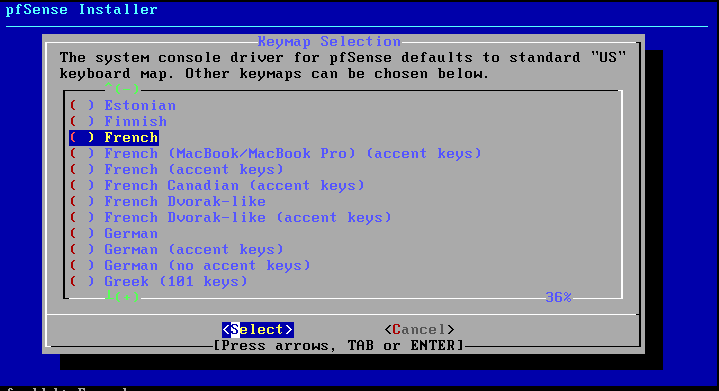
The wizard will then ask you to select the layout of your keyboard (I have a French keyboard). Select the layout that suits you, then press “Select”.
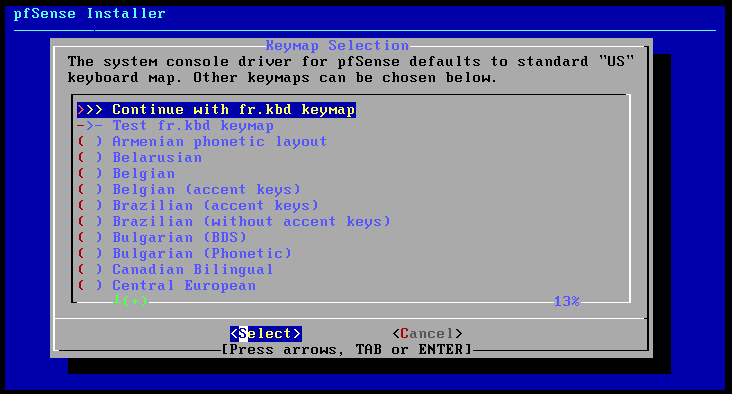
Confirm your choice.
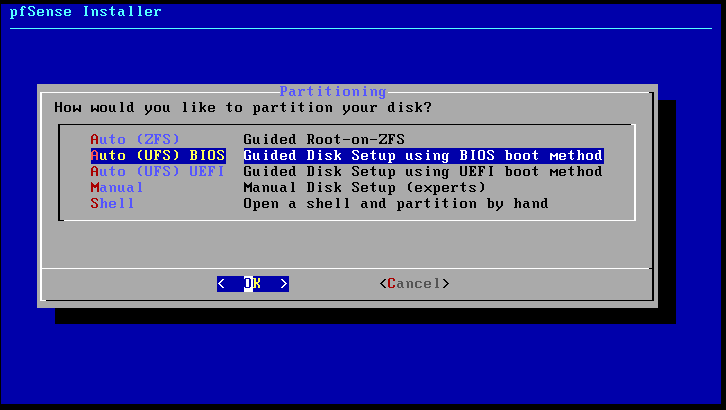
We are then asked how to partition our disk. Choose “Auto (UFS) BIOS”, then “OK”.
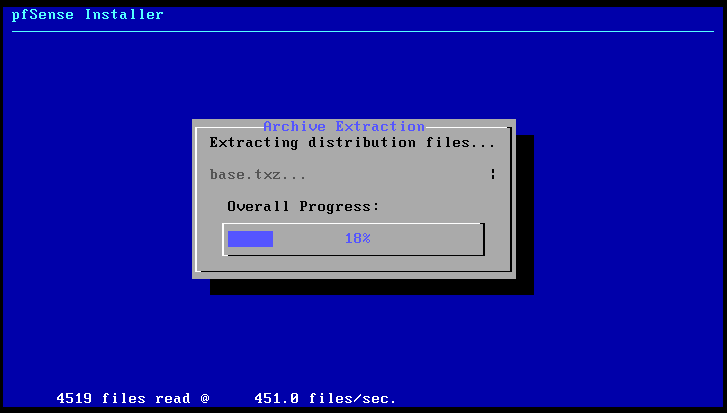
Pfsense will then start its installation:
If the wizard asks you to open a Shell, answer “no.”
You will restart the virtual machine when the wizard suggests it.
Pfsense startup configuration
On reboot, you will be asked if the VLANS should be configured. Press “n” then “Enter”.

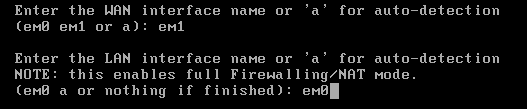
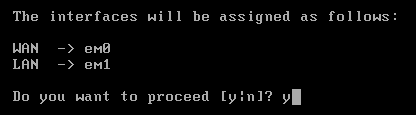
Then you have to tell Pfsense which interfaces correspond to the WAN and the LAN. For the moment, we don’t know what “em0” and “em1” correspond to, so let’s put them randomly (we can change this later).
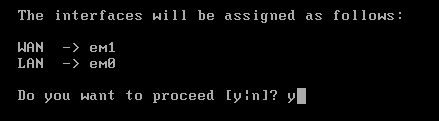
Then confirm by pressing “y”:
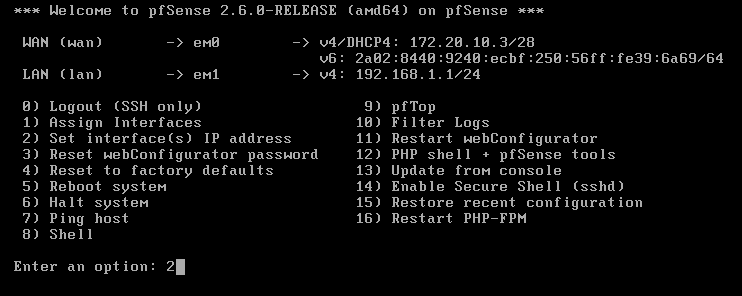
And we have finally finished the installation of Pfsense! Now you should arrive on the main configuration menu.
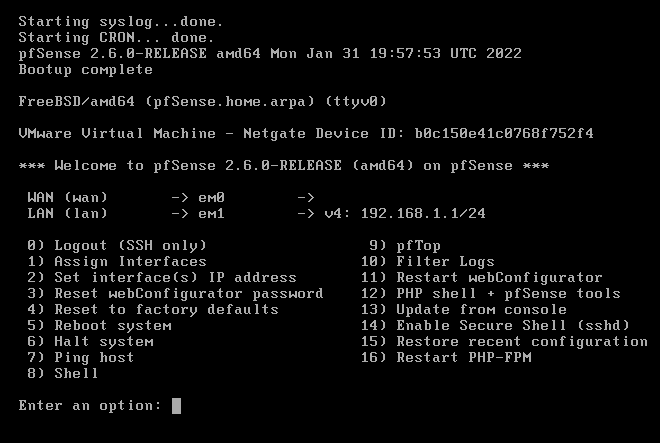
Don’t panic if you don’t have IP addresses for “em1” or “em0” (like me), we’ll fix that right away!
Press the “1” key on the keyboard to assign the interfaces correctly.
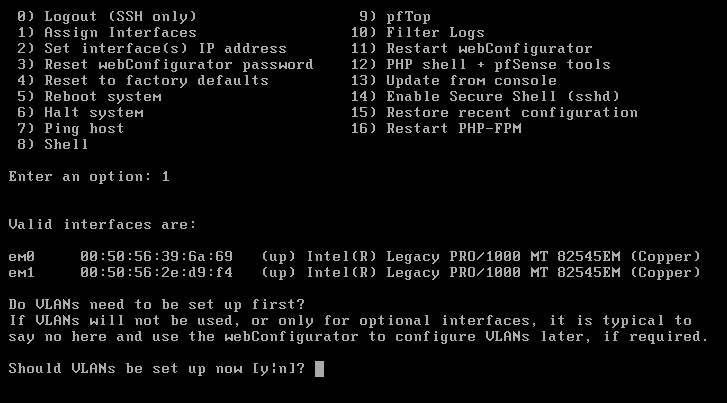
We then notice that next to “em0” and “em1”, there are MAC addresses…
The wizard (re)asks us if we want to configure the VLANS. Press “n”.
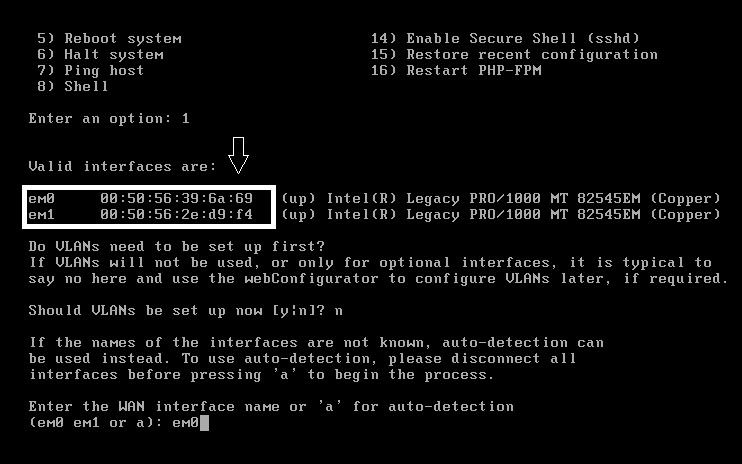
Then we are asked which interface corresponds to the WAN. But how do we know? “em0”? “em1”? A little explanation is necessary.
When we configured the interfaces of the Pfsense VM, we put one in “LAN segment” and another in “Bridged”. The “LAN segment” one corresponds to the LAN side of Pfsense, while the “Bridged” one corresponds to the WAN side.
But how do you know which one corresponds to “em0” or “em1”? With the MAC addresses you normally wrote down earlier! In my case, I know that the LAN interface has a MAC address that ends with :d9:f4; and that the WAN interface’s MAC address ends with :6a:69.
It says right above which one corresponds to what.
So you can enter the interface that corresponds to the WAN side (in my case, “em0”):
Do the same for the LAN interface:
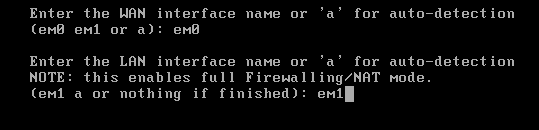
Press “y” to confirm the changes:
Personally, I will change the IP address of my LAN interface, so I will choose option 2:
I will give it the IP address 192.168.100.254, with a mask of /24. (I also specify that I don’t want to use DHCP).
If you are offered to use HTTP for the WebConfigurator, press “y”.

We will then proceed to the configuration of PC1!
The next part of the tutorial is ➡️ here ⬅️.