In this note, we will see how to install a proxy server, using Pfsense and Squid. We will use virtual machines, created under Vmware Workstation 16 Pro.
The different parts of this tutorial:
Topology of our network
Here is the network topology that we will use in this tutorial:

To access the Internet, “PC1” will go through the “Pfsense” router, in order to leave the local network “LAN”. Here the subtlety is that if “PC1” wants to access some web pages, its requests will first go through our proxy server “Squid”.
“Squid” will then be able to block some web pages or save some data in its cache to improve performance.
*I specify that this schema is only an illustration, Pfsense and Squid are in fact only one machine in our case.
Creation of the virtual machine
On the download page of Pfsense, download the iso of our future virtual router. I specify that you will get .gz file, you have to extract this file on your computer.
Also download the iso of a VM, for PC1. Personally, I will use a Linux distribution Ubuntu, which will do the trick, but you are free to use any OS you like.
Then, on Vmware, you can create the virtual machines (you can follow my tutorial here.
Setting up virtual machines
Once the machines are created, we will have to modify their parameters. Indeed, our Pfsense router has 2 interfaces: one LAN and one WAN. So we will have to add one to it, and set the parameters directly.
⚠️Your computer must be connected to the Internet.
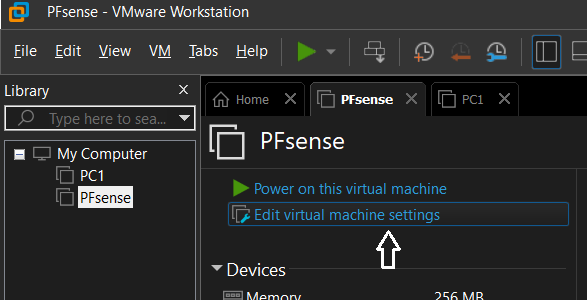
- Go to the VM settings:
 2. Press “Add”:
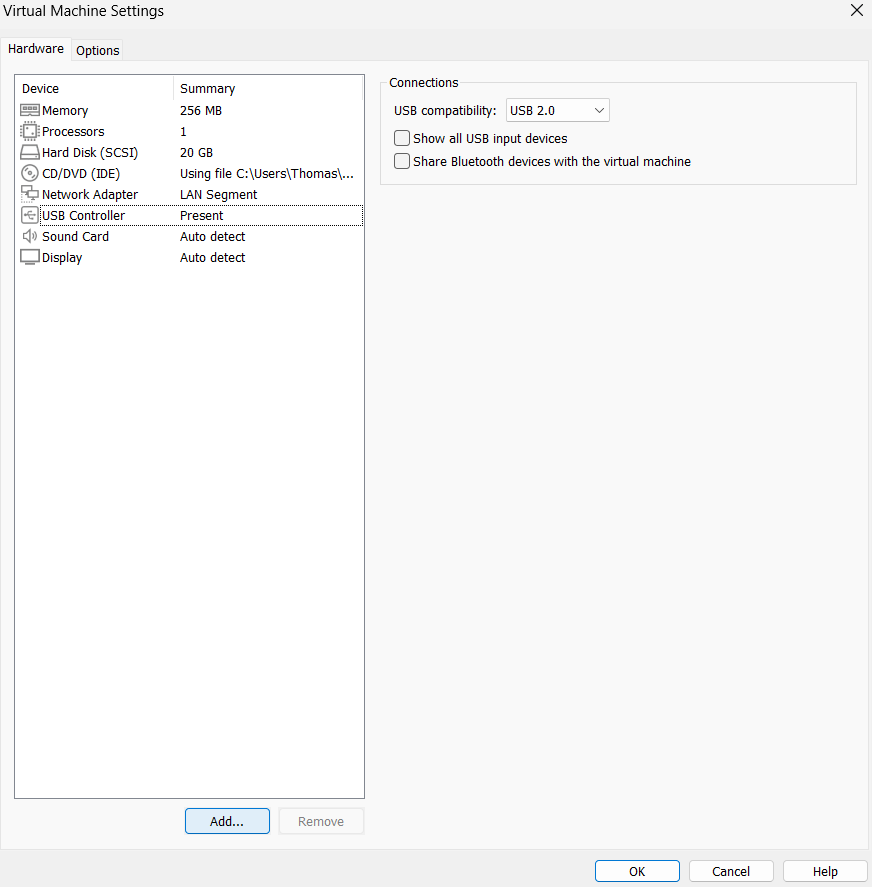 3. Select “Network Adaptater”, then “Finish”:
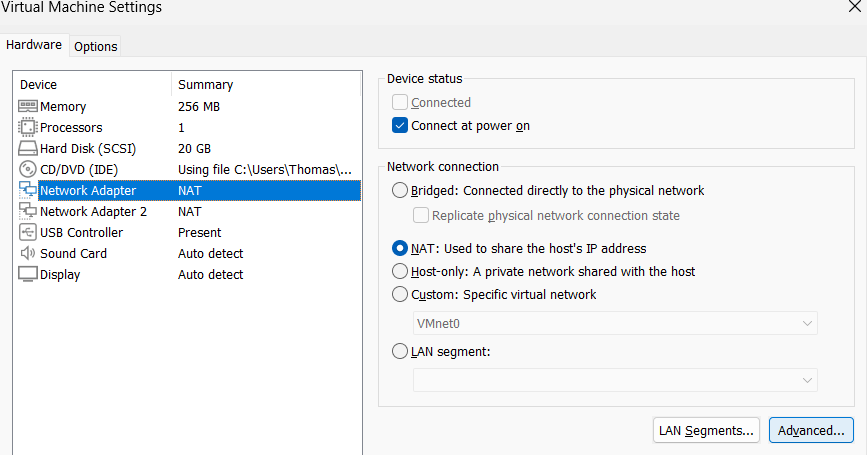
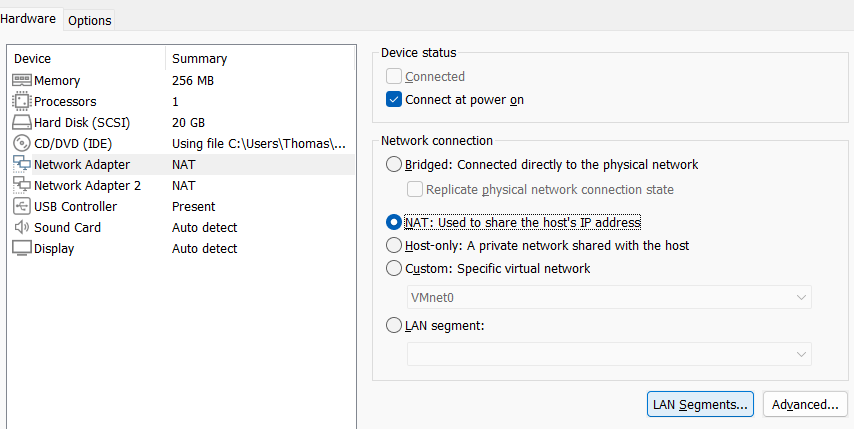
 4. We will now set up our two interfaces. Press on the first one, then on “Advanced”.
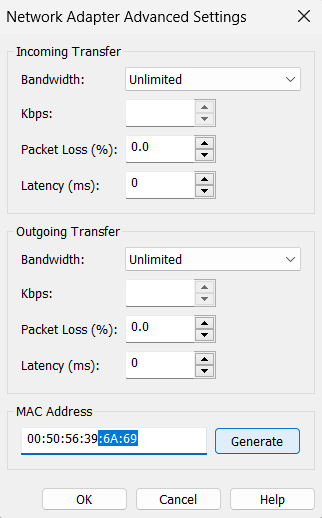
 5. Press “Generate”, and note (I insist) the last two bytes of the MAC address that was just generated. It’s normal to not have the same value as me 😉 . Then “OK”.
 6. Then press the “Lan Segments” button:
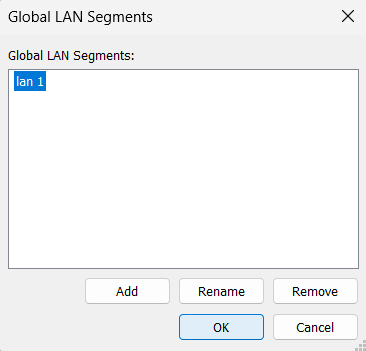
 7. We will create a new LAN segment. Click on “Add”, give it the name you want, then “OK”.
 8. Finally, still on the first interface, in the “Network Connection” section, select LAN segment, then choose the LAN segment you just created.
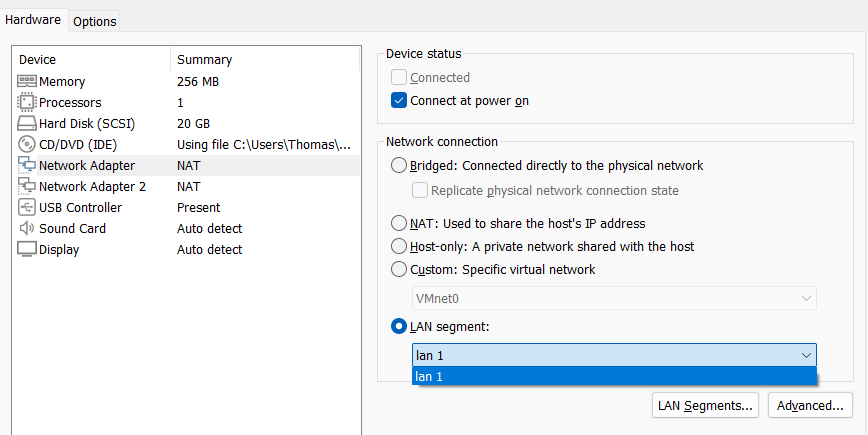
We have just specified that the first interface will be part of the LAN.
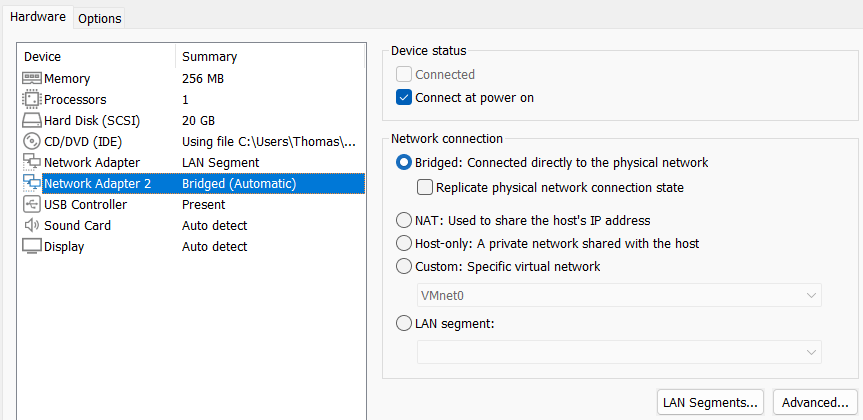
For the second interface of our Pfsense router, repeat the 4th and 5th step of configuration of the first interface. Then select “Bridged”, and “OK” (bottom right).
Our Pfsense virtual machine is now ready to start!
⚠️Also think about configuring the “PC1” machine. To do this, choose the “Network Adaptater” of your VM, then again select “LAN segment”, choosing the LAN segment you put for the first interface of the Pfsense router:
You can then start your Pfsense machine.
The next part of this tutorial is ➡️ here ⬅️